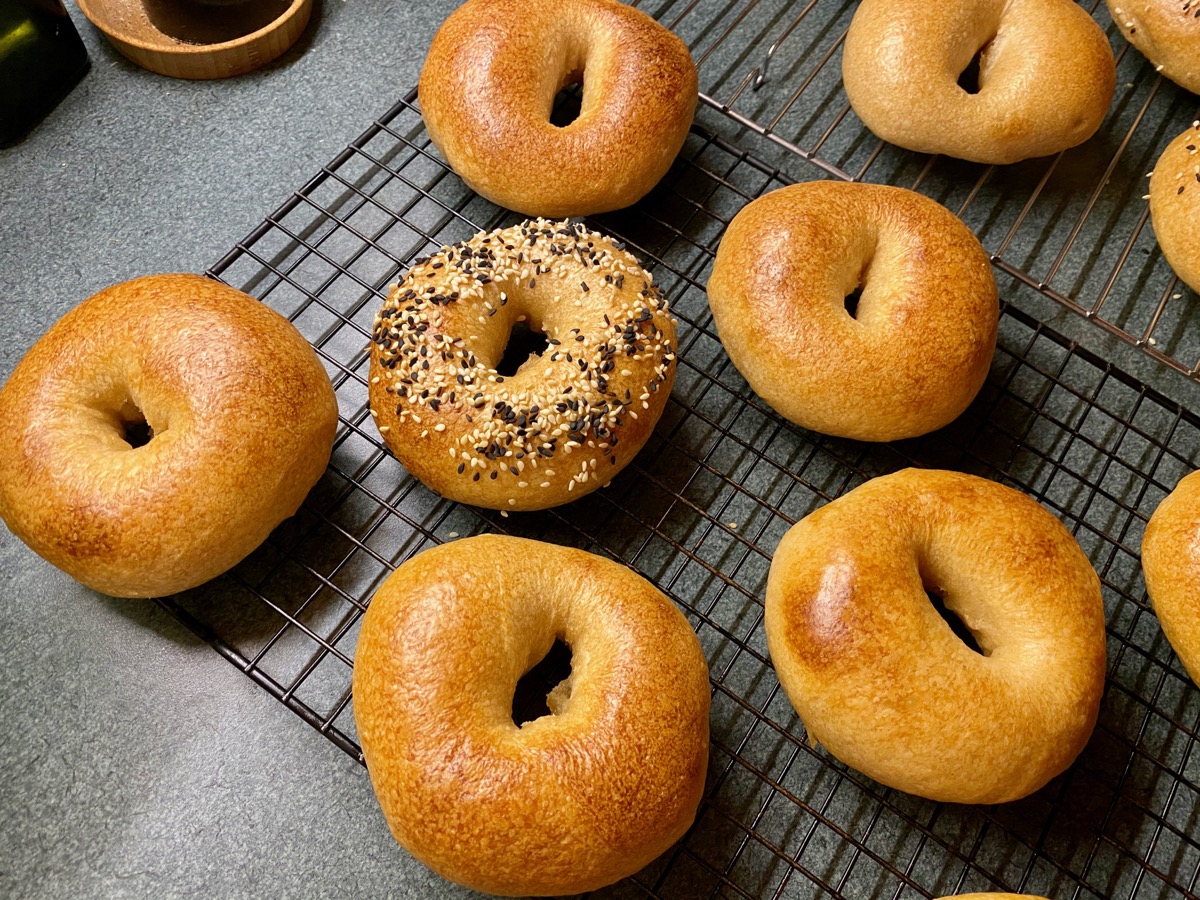
Neven’s Sourdough Bagels
Here’s the good news: the best bagel recipe I’ve made has also been the least demanding one. How often does that happen?
The bad news is… well, there’s no bad news. These are delicious and fairly no-nonsense. The recipe follows; after that, scroll down if you’d like to learn more.
Neven’s Sourdough Bagels
Servings: 8
Time: 15 min mix + 6 hr proof + overnight proof + 1 hr boil & bake
INGREDIENTS:
- 450 g high-gluten flour (or bread flour, or all-purpose flour)
- 50 g whole wheat flour (or more of the above flour)
- 20 g sugar
- 10 g salt
- 250 g water
- 125 g ripe sourdough starter
DIRECTIONS:
In the bowl of your stand mixer, stir together the flours, salt, and sugar. Attach to the mixer equipped with the dough hook attachment. In another bowl or cup, mix the water and starter gently. Start the mixer on the lowest speed and slowly add the water+starter mix. Mix for 4 minutes, then stop and scrape down the sides, releasing the dough ball from the dough hook. Mix for another 4-5 minutes, until the dough is smooth.
Transfer the dough to another, lightly oiled bowl (I like a wider, shallower container for this) and cover. Leave on the counter for 4-6 hours; it will need less time on a very hot day, more on a cold one.
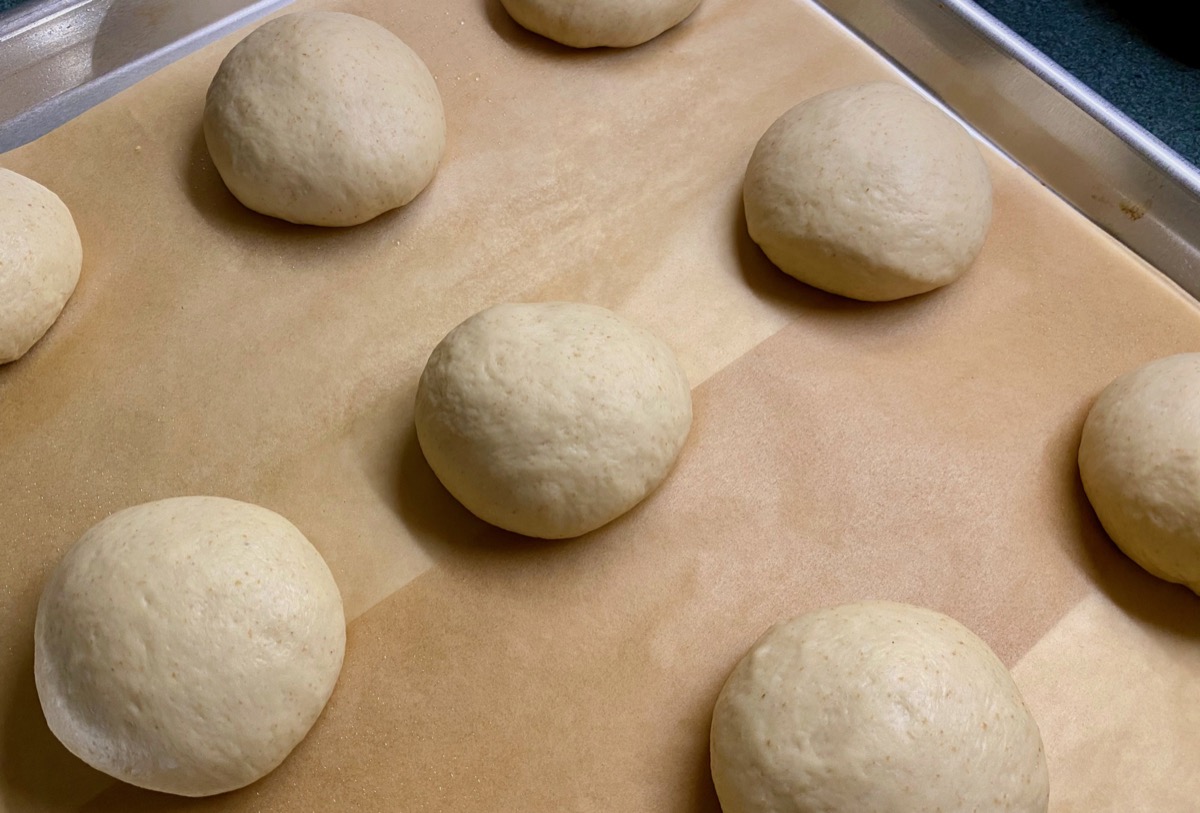
Once the dough looks smoothly inflated—note that it may not double in size—use a bench scraper or knife to cut into ~112 g balls. Shape each into a ball by pulling the sides towards the middle and pinching together, then flip it over and roll on the counter to form a smooth top and a bottom sealed together by rolling. Place these balls on a half-sheet pan (18″ x 13″) and cover with a clean, non-terry towel. Rest for 10-15 minutes.
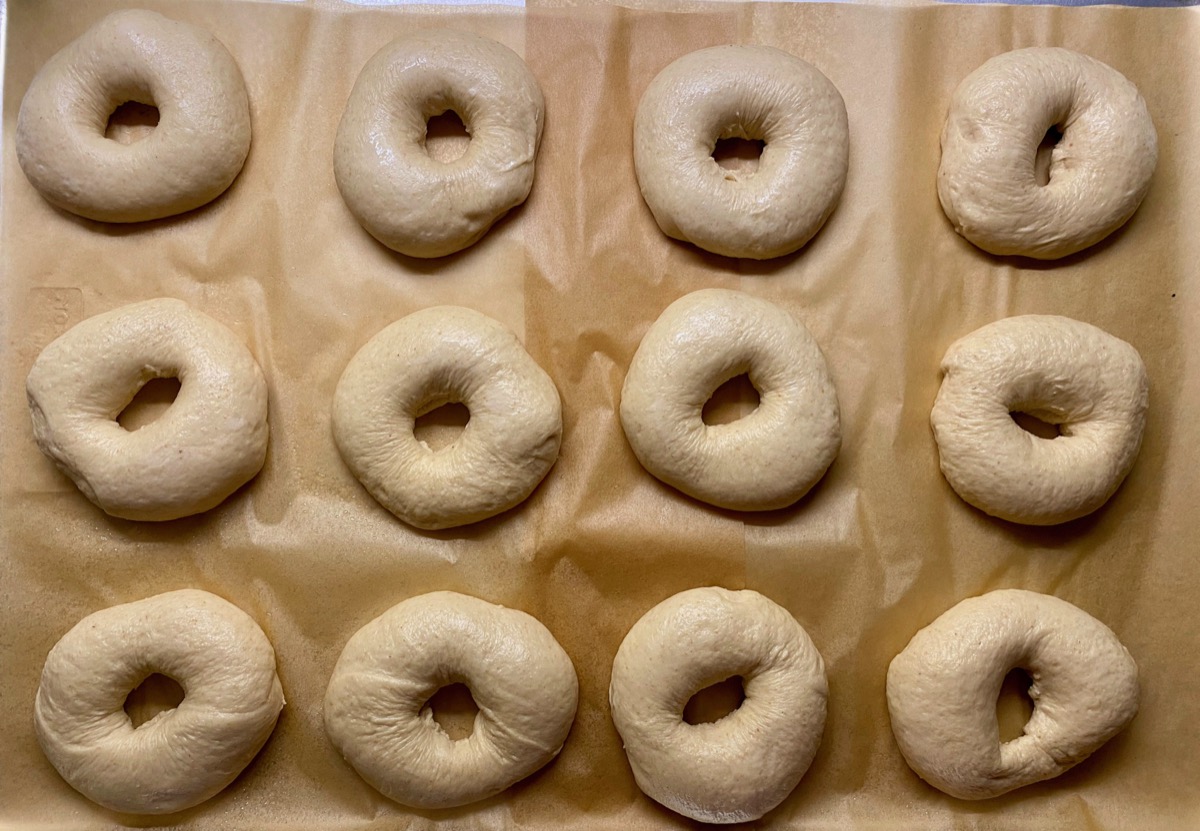
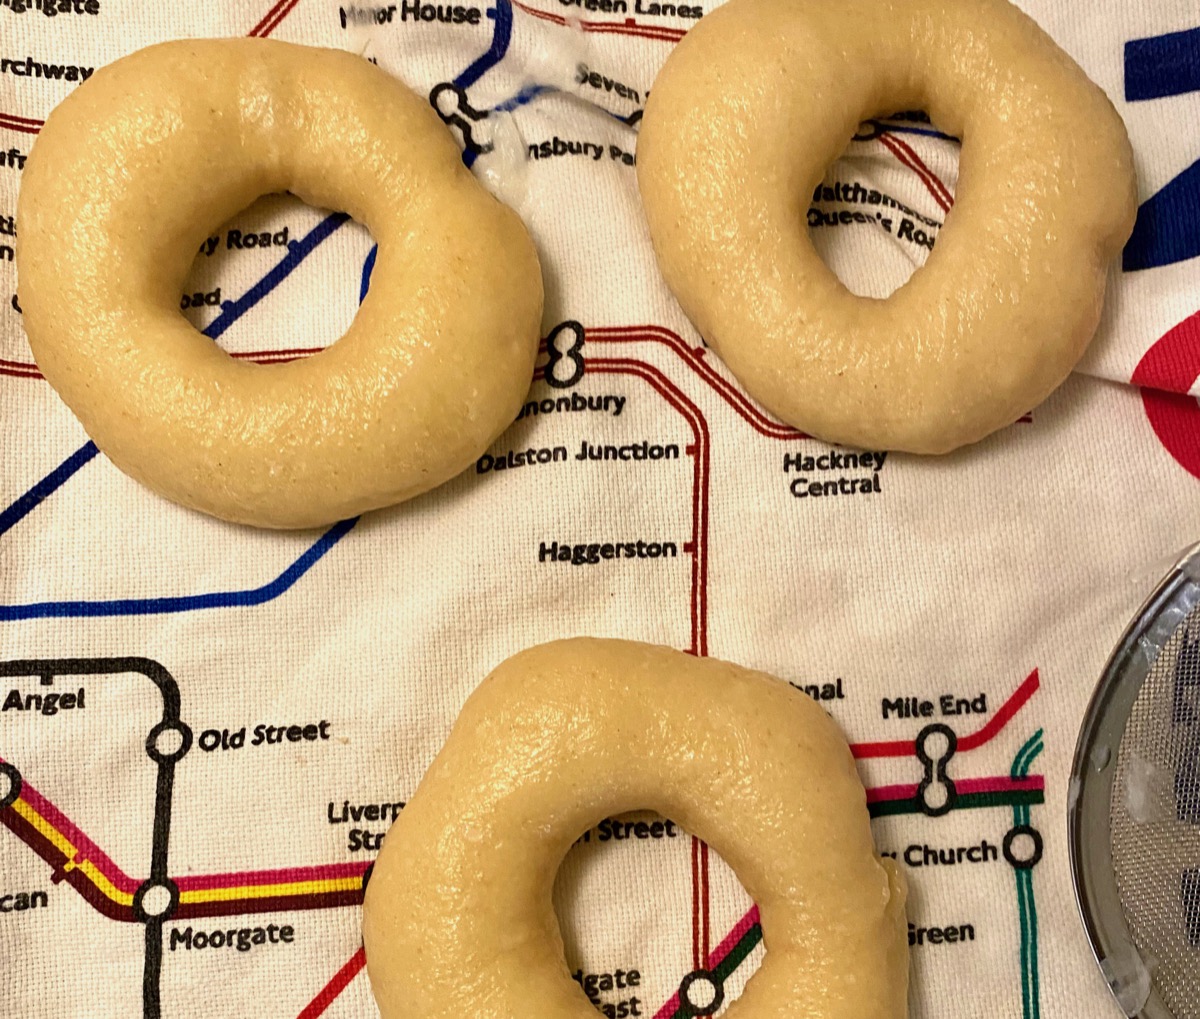
Shape bagel rings by grabbing a ball and poking a hole through its center with an oiled or floured finger. Then gently stretch out the ring, doing your best to keep it even all around. No need to sweat this too much; the bagels will smooth out a lot during the bake. Here’s a video of my stretching method:
Once all the rings are on the sheet, cover it well with plastic wrap or place inside a large proofing bag. Stick it in the fridge. (I realize this can be tricky, but do your best to Tetris your jars and Tupperware™ to create an even horizontal surface.) Let them proof for 12-48 hours.
The next day, before you bake, do the following in this order:
- Preheat your oven to 500ºF with a rack in the top third. (The exact placement will depend a bit on your oven; see what works best.)
- Fill a very wide pot with ~3″ of water and bring to a boil; turn down to a steady but controlled boil. Place a spider or slotted spoon nearby.
- Put a large pan next to the pot and cover it with a clean towel; this is where you’ll place the bagels after boiling them.
- Grab a metal pan of any size and fill it with at least a cup of water; this will be your steam pan. I use a cheap aluminum pan. Please, please DO NOT use glass, Pyrex, or ceramic; they may shatter.
- Take the bagel pan out of the fridge and uncover it.
- Grab another half-sheet pan and line it with parchment paper.
You’ll boil the bagels briefly, drain them on the towel-lined sheet, then place them on your final baking sheet. Try to work quickly as it’s best for the bagels to go from the boil to the oven without much delay.
When the water is boiling, pick up one bagel and gently lower into the water. (You can use your hand to do this, not the spider.) Add 2 or 3 more bagels—whatever fits comfortably in your pot. Boil them for 40 seconds, then flip and boil another 40 seconds. Scoop out onto the towel, flipping over so the puffy, smooth side faces up.
Boil the rest of the bagels in batches. As the boiled bagels cool off a bit—it should take just 30 seconds to a minute—gently move them to the final baking sheet.
When all the bagels are boiled and on the sheet, take your steam pan and put it on the very bottom of your oven. It will quickly begin to steam; this will give the bagels their crunchy outer crust. Now slide the bagel pan into that top-third rack of your oven.
Bake for 10 minutes without opening the door; you want the steam to stay inside. Open the door, rotate the pan, and bake another 5 minutes. At this point, assess how dark the bagels are. Too dark for comfort? Drop the temperature to 450ºF or even 425ºF. Or not—I do 500ºF throughout the whole bake myself.
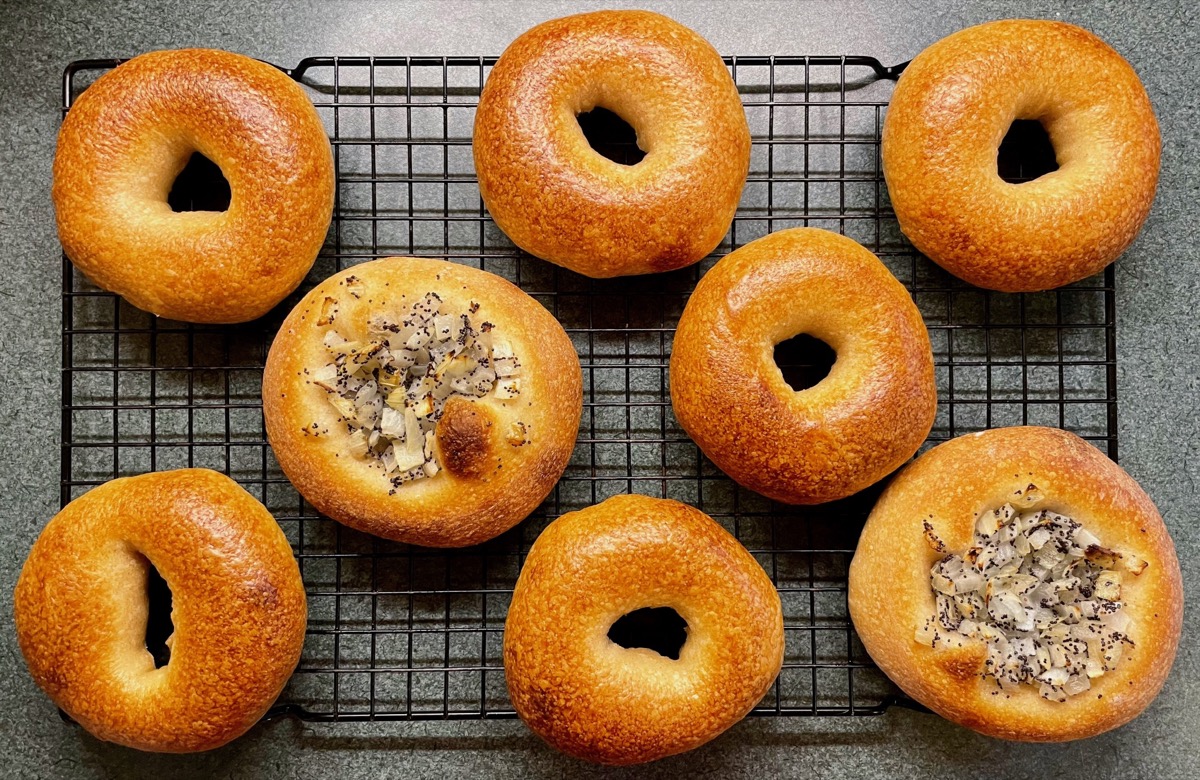
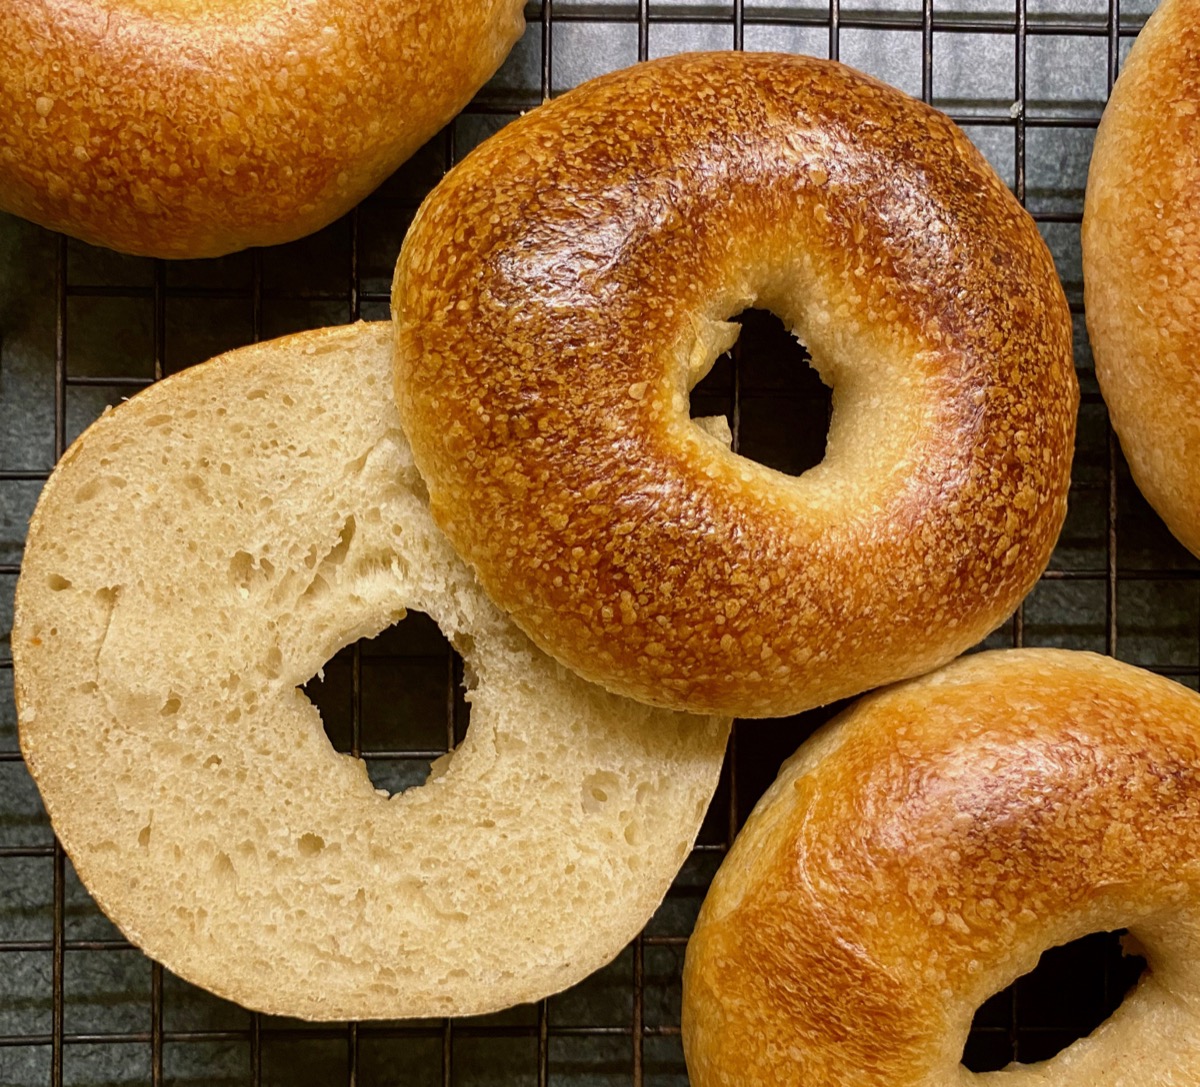
After the 20 total minutes of baking, the bagels should look puffy, smooth, golden, and wonderfully micro blistered. Take them out of the oven, then move to a cooling rack.
Wait 20-30 minutes before slicing them; I know, I know.
I’m not going to tell you what to put on them or how to eat them—that’s between you and your maker. Enjoy!
OCCASIONALLY AMUSING NOTES:
But Neven, am I not supposed to be using lye or baking soda or something?
This is certainly the typical method for making bagels: add a terrifying drop of caustic lye to your water while wearing scuba gear and praying on a rosary. It’s meant to create a certain bagely something, contribute to the chew or mouthfeel or whatever… After making several batches that turned out “alright” and weren’t any chewier than anything else, I gave up and started boiling my bagels in plain water. And look at me today!
Did I read that right, you bake at 500ºF? Some say, like, 375ºF?
Bagels I baked at any temperature below 475ºF turned out pale and unsatisfying. Maybe my oven is broken? Either way, give it a shot and drop the temp if you feel you need to. (My bet is, you won’t.)
Do you have a version made with commercial yeast?
I was not happy with the flavor or the bake of the yeast-based bagels I made. Sorry. —Sourdough Guy
What’s a proofing bag?
One of those things they use on the Great British Bake Off. They’re sweet! So much easier than wrapping plastic on top of dough. Get ‘em here. Oh and those flat parchment paper sheets? So much better than the dumb rolls!!
Can I make a dozen bagels?
You can, I believe in you! Just 1.5x the recipe (it should work fine in a typical stand mixer) and bake on a Big Sheet pan (21″ x 15″). It’ll be a bit of a squeeze to fit 12 bagels on a half-sheet pan.
Oh right, I don’t have a stand mixer!
Mix the dough by hand 🙂
Are those bialys up there?
Heck yeah those are bialys up there. Here’s how to do those: Ball up dough, but don’t poke any holes through it. Proof in the fridge as above. In the morning, pizza-shape it into a disc about 5-6″ in size, with a puffy rim. Top with chopped garlic or sautéed diced onion mixed with poppy seeds. Obviously, don’t boil them, just bake them.
How do I store any leftover bagels?
“Leftover bagels? Does not compu [giant hook drops from the sky and pulls me into the clouds, screaming] Once they’re totally cooled off, place your bagels in a paper bag or bread box overnight; they’ll toast up fine in the morning. If you don’t get to them that next day, then slice them and store in the freezer. You can then thaw for a few hours and toast.
That’s it! Thanks for reading!
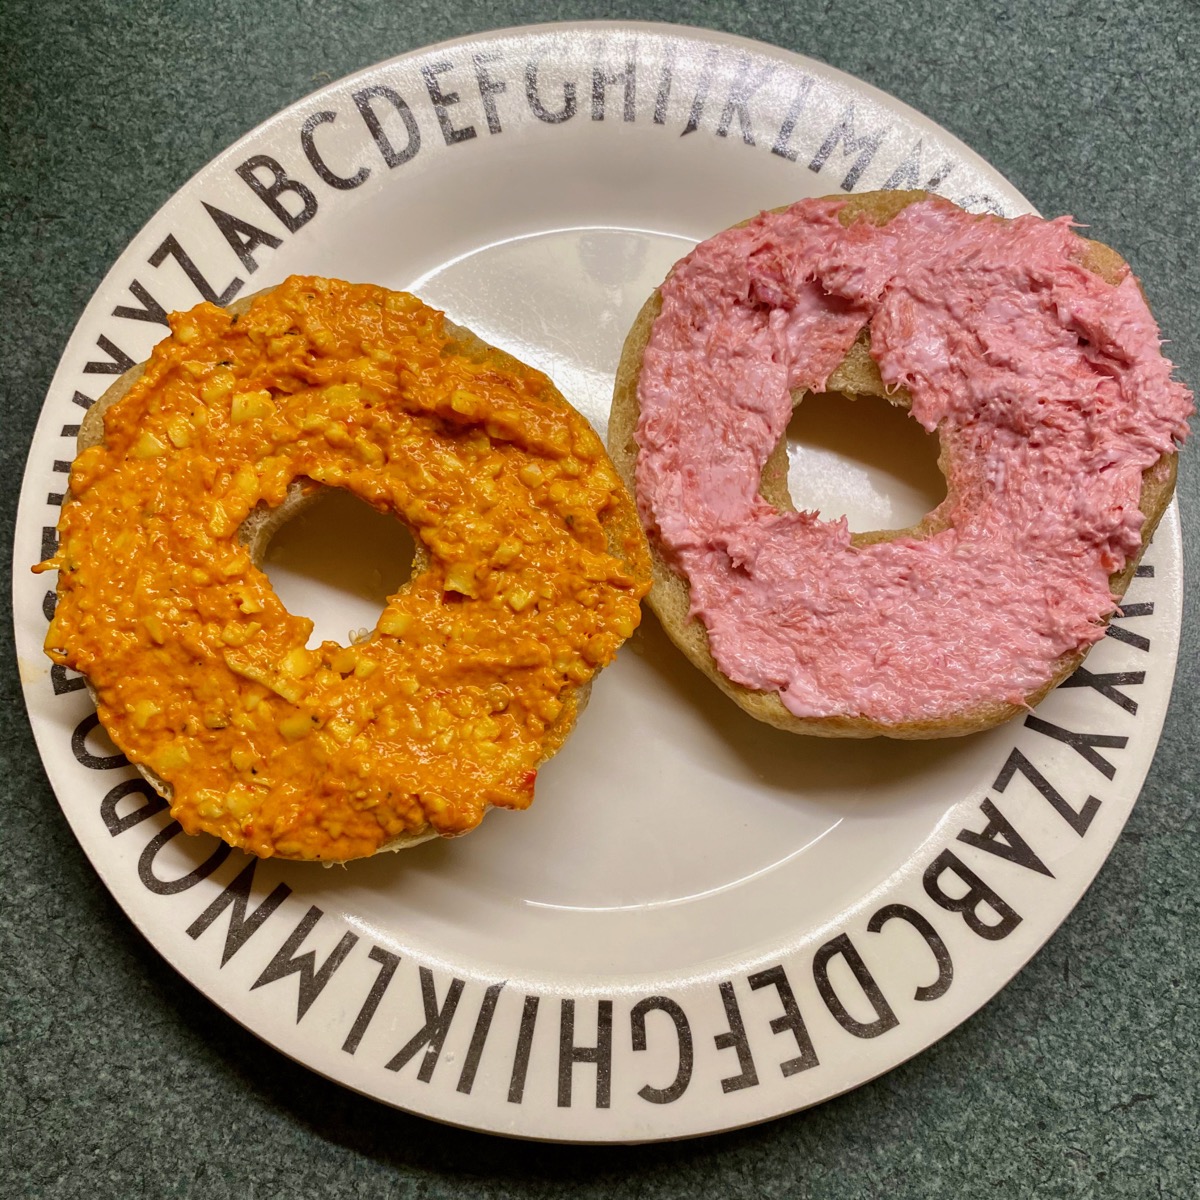
P.S. I put pimento cheese and beet + smoked salmon cream cheese on these bagels. Nice, huh?
P.P.S. When I link to products above, I use an Amazon affiliate link; if you choose to purchase anything this way, I thank you.